click to enlarge
| www.delorie.com/house/furnace/ | search |
I wrote an article about this system if you want more information about it
click to enlarge
|
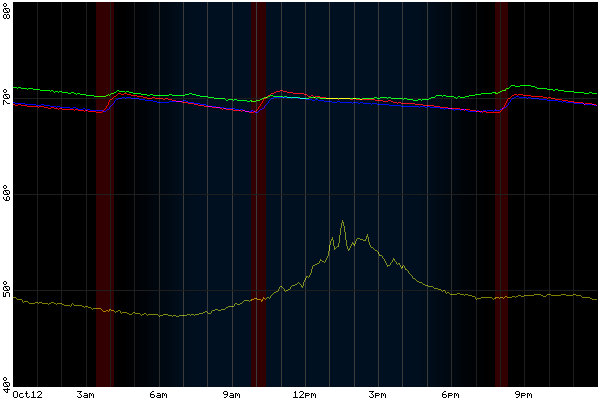
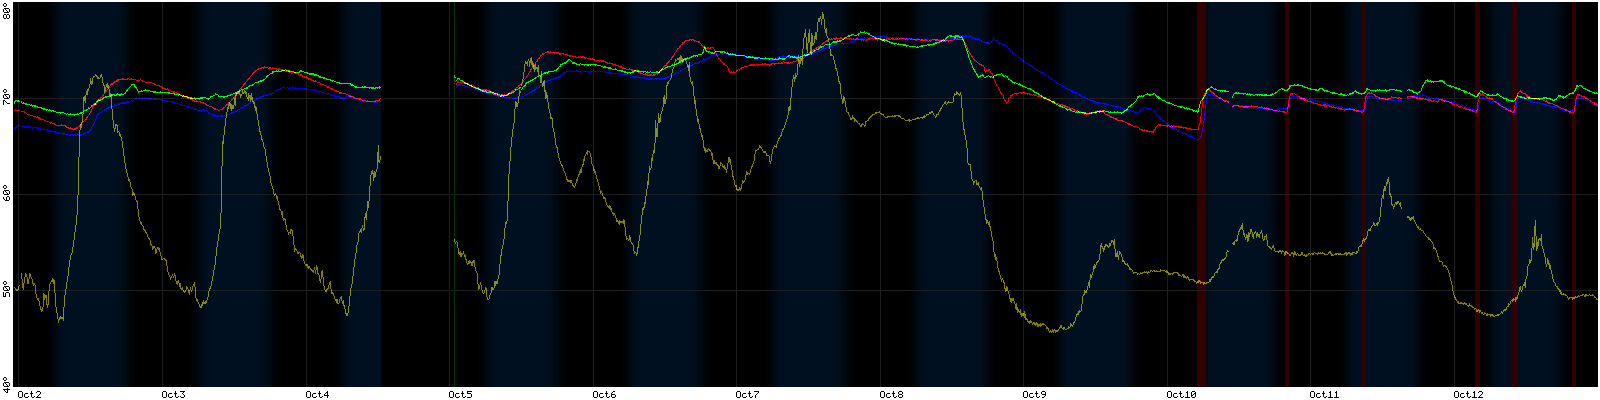
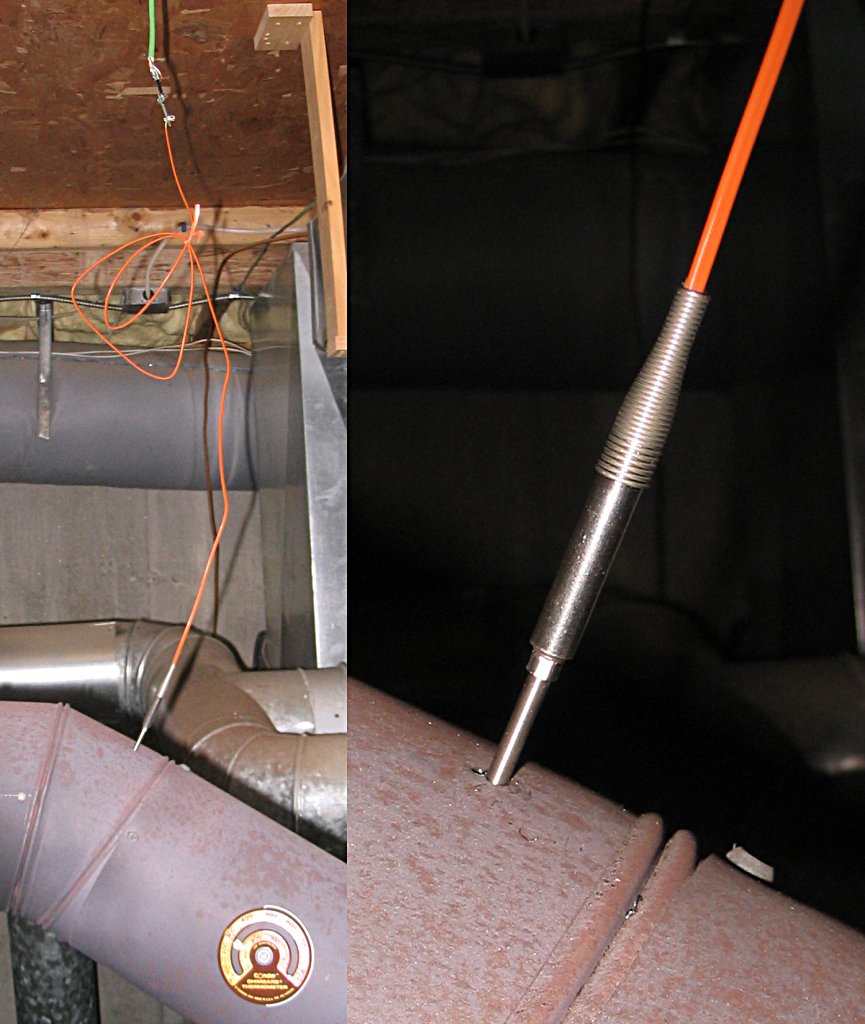
Since the new board doesn't use a PC, I've lost the ability to watch my woodstove via a webcam. Sigh. However, Parallax has a thermocouple to 1-wire adapter board using a chip from Maxim, so I got that plus a thermocouple probe from Omega, and I'm using that instead.
The termocouple probe is a K-type thermocouple with a stainless steel sheath. The probe is rated for about 1600°F and the SS resists any corrosive gasses in the flue.
 1024x768 280Kb |
 638x1024 165Kb |
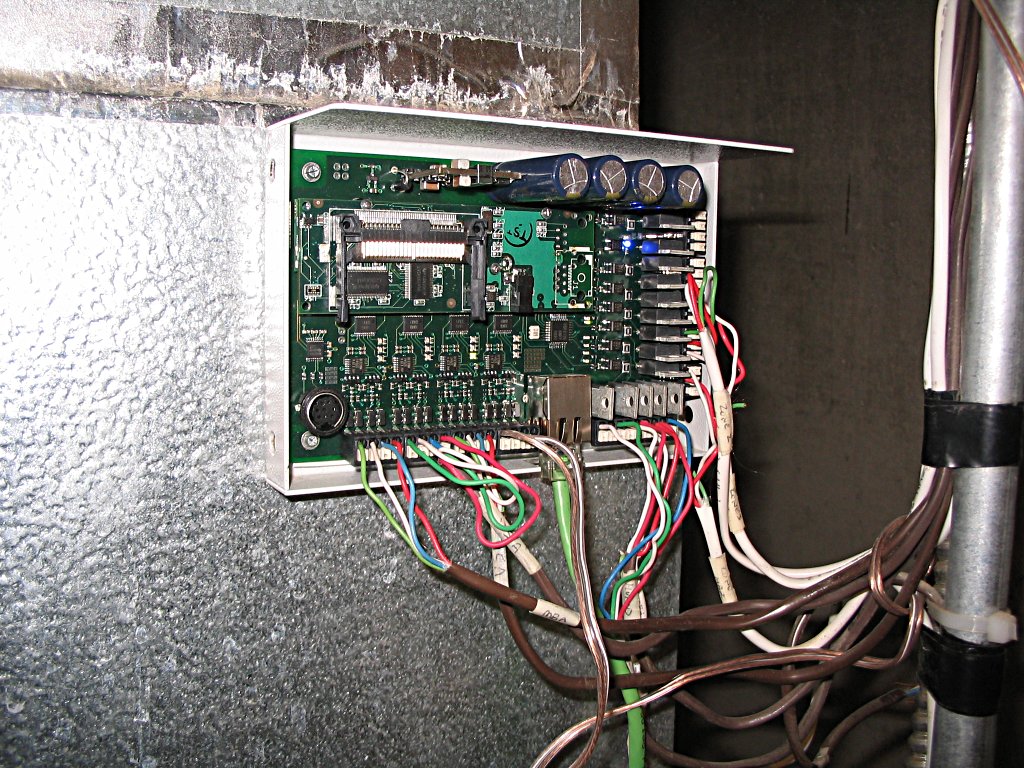
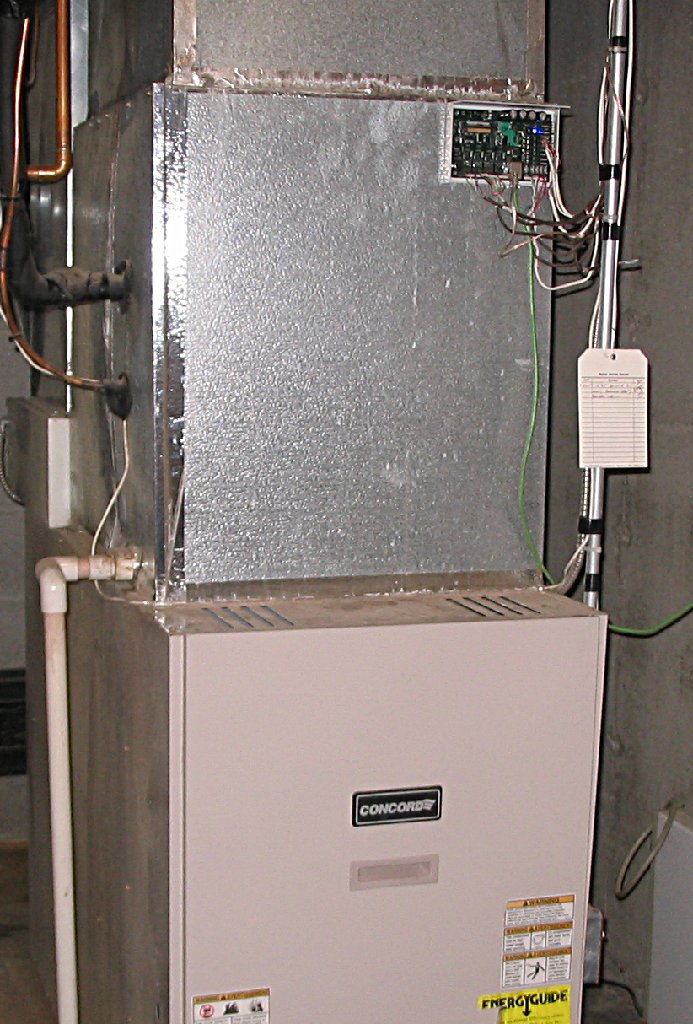
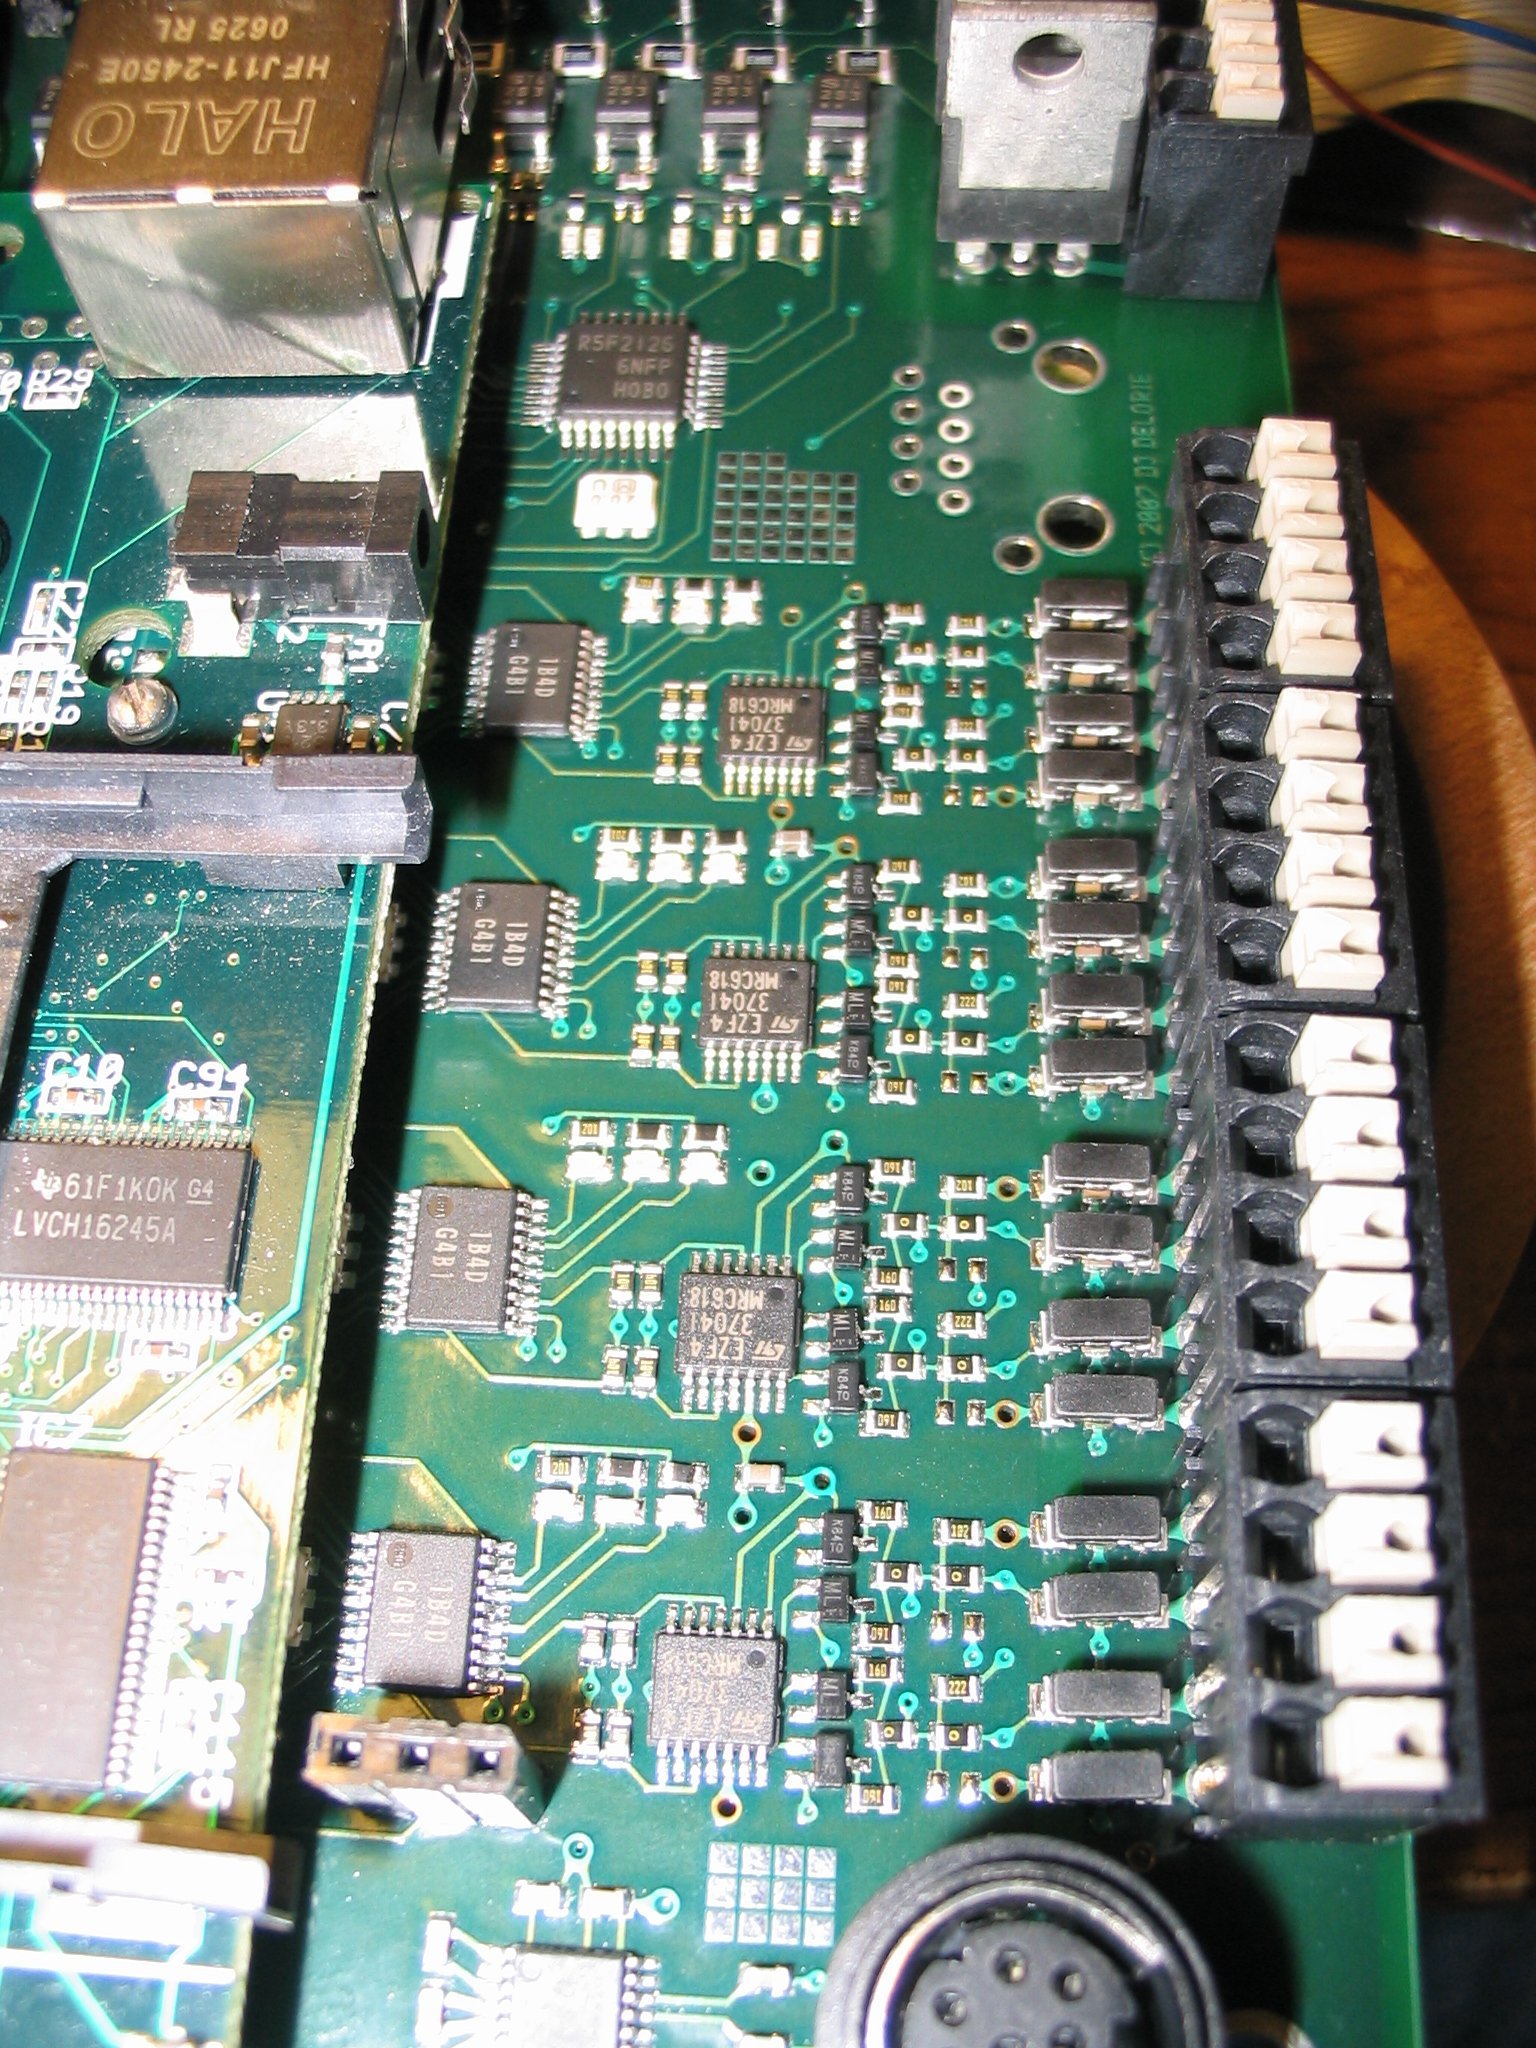
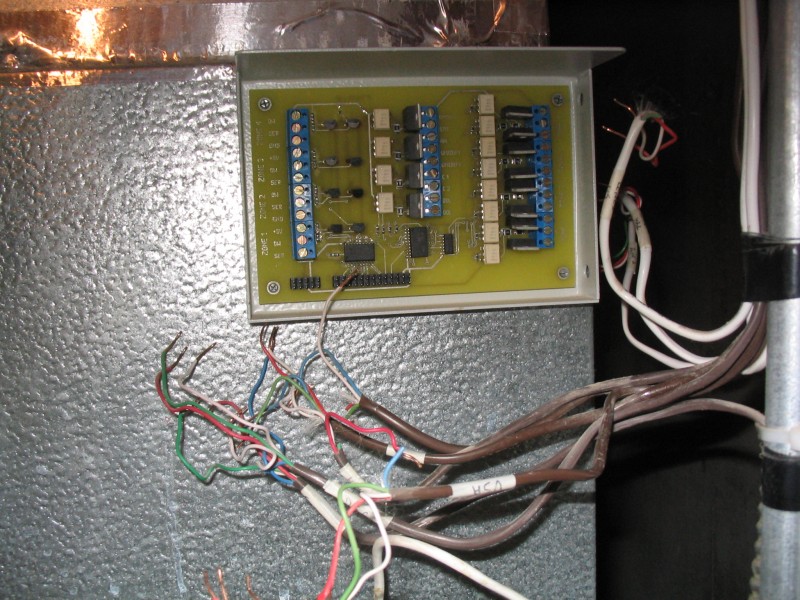
The board has finally been installed in the furnace! This is the "production" board, which is just like the prototype (below) except it doesn't have all the debugging connectors on it, and has the ethernet jack in the right place.
I did discover one problem, though. The serial LCD I'm using wants an inverted signal - RS-232 signalling but TTL levels. The m32c chip has invertable serial drivers, but the r8c chip doesn't, so I ended up doing a bit-banging serial driver. I've added some single-gate xor chips to my next digikey order so I can build new thermostat boards that take a non-inverted serial, as the hardware serial is much faster (I have to disable interrupts while big-banging to get the bytes reliable enough, which means I have to do everything else between bytes).
I also need to build a new outdoor sensor, as the current one isn't talking to either this board or the old one any more. I have the parts and the board, I just need to build it and install it.
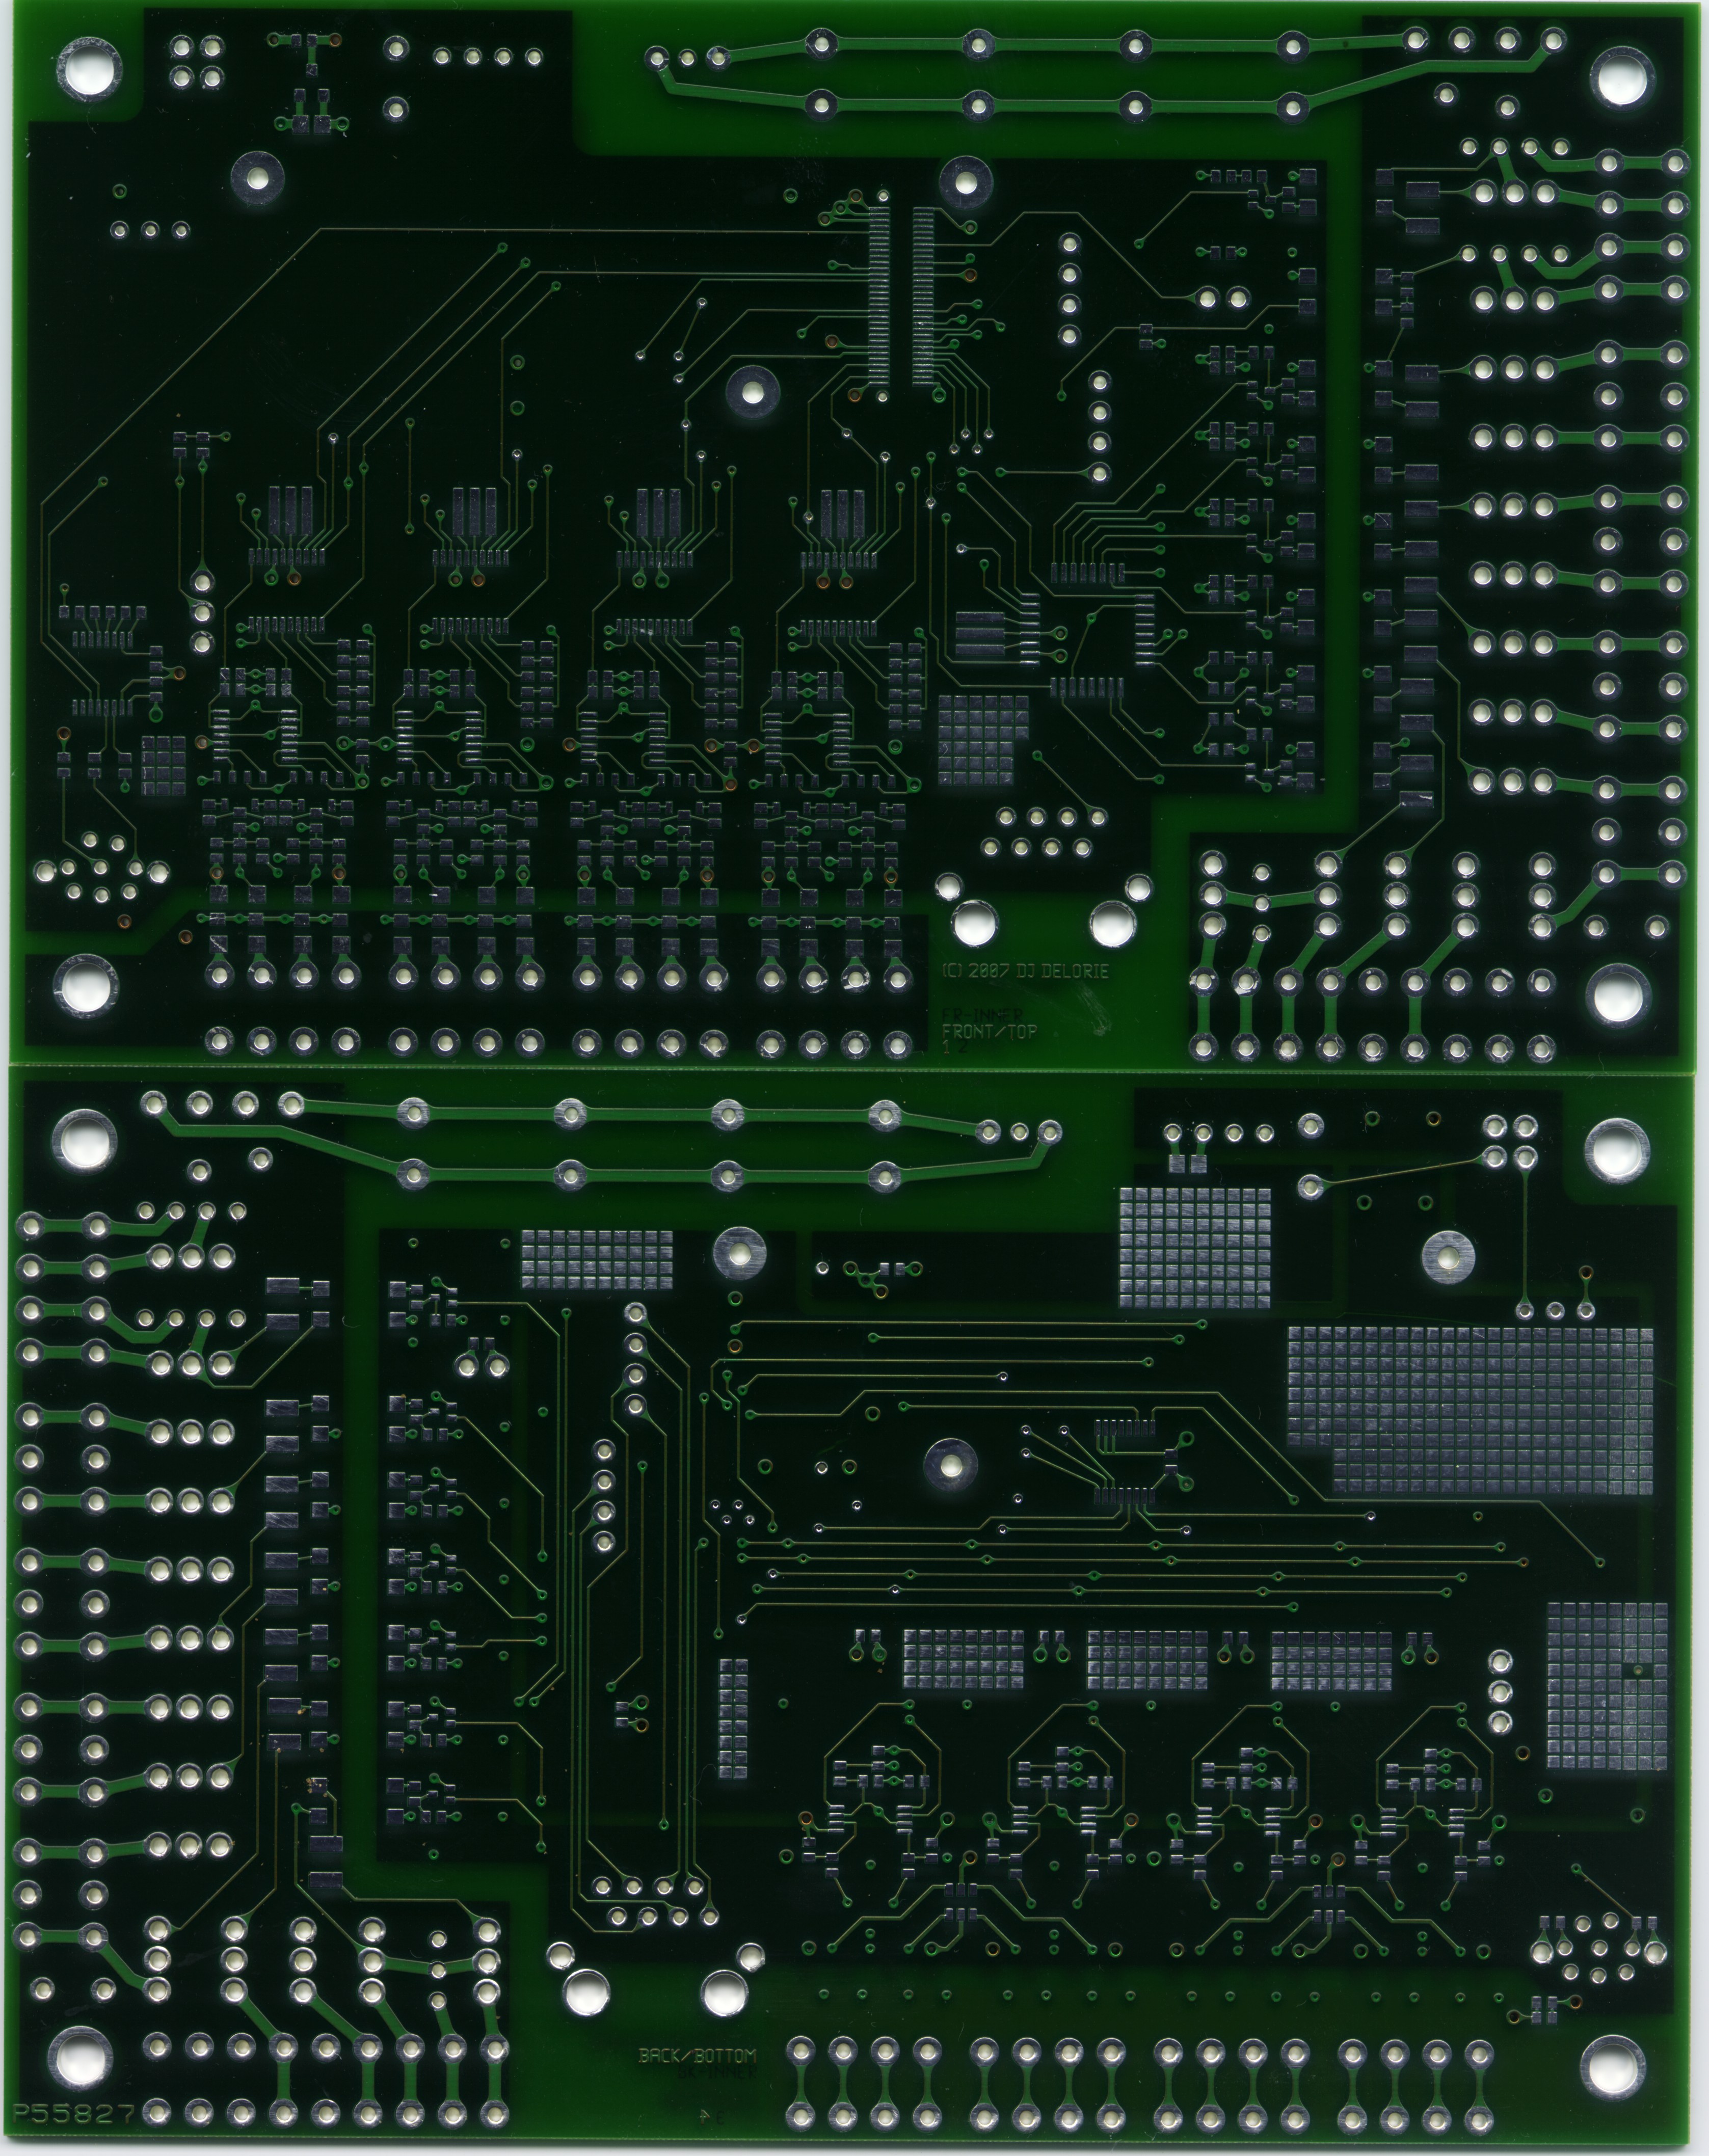 3354x4232 600dpi 2.1Mb |
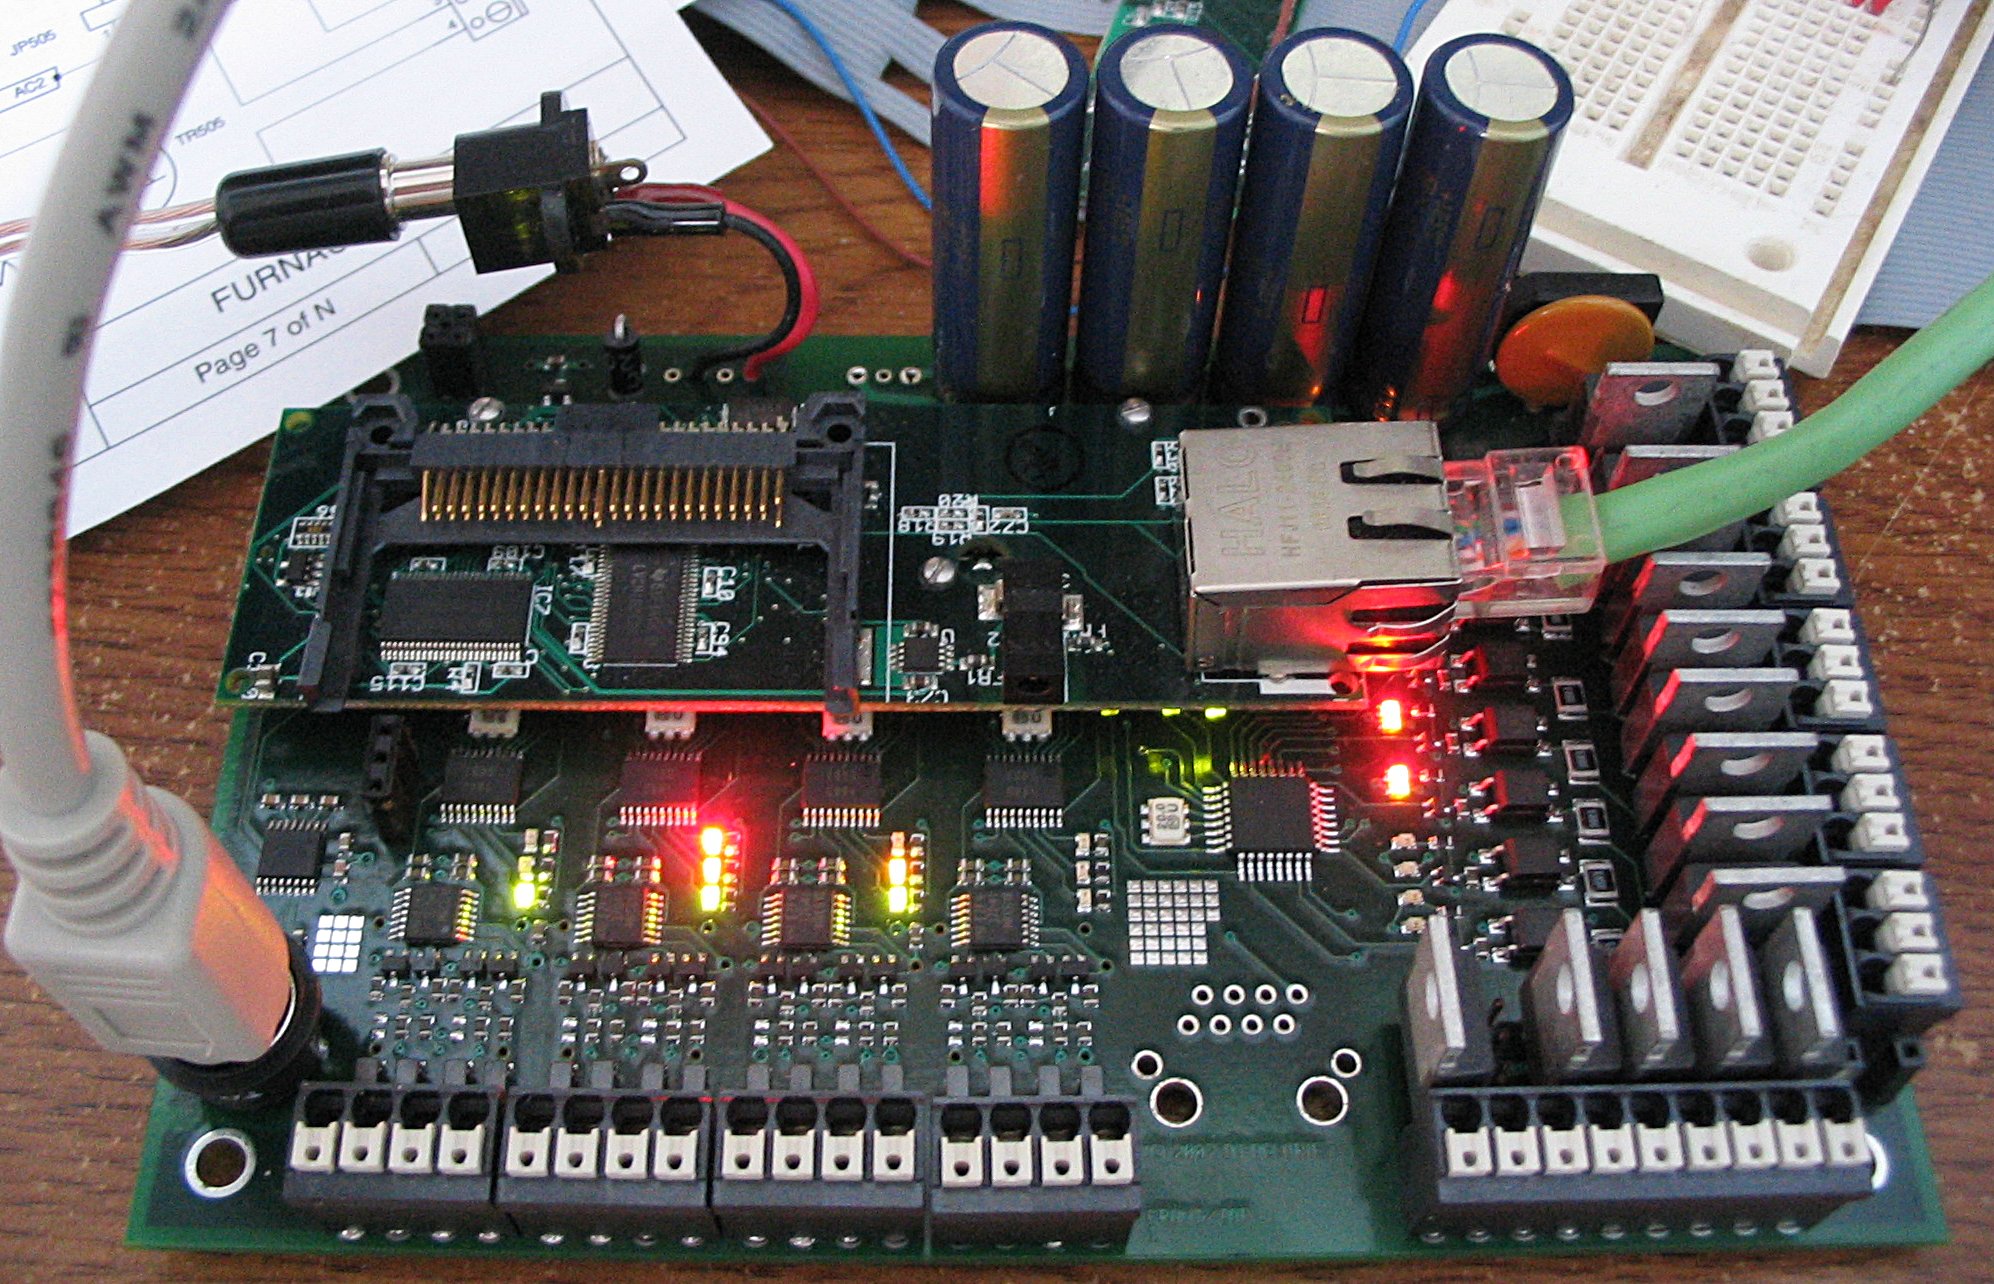
After fiddling with power supplies for a while (the module is going back to Acon so they can rewire it for a higher voltage) I decided to just plug it in to an old PC power supply for now. The onboard bulk supply works just fine, it's just too cumbersome to reduce it to 5v with the parts I have on-hand.
Anyway, as you can see, it works! I modified my r8c programmer to let me pick a zone to download to, updated the r8c software to be different on each chip, and it just worked the first time :-) I also figured out how to get uboot to turn on the r8c's at boot time, although a set of pull-up resistors on the reset lines might have been a good idea.
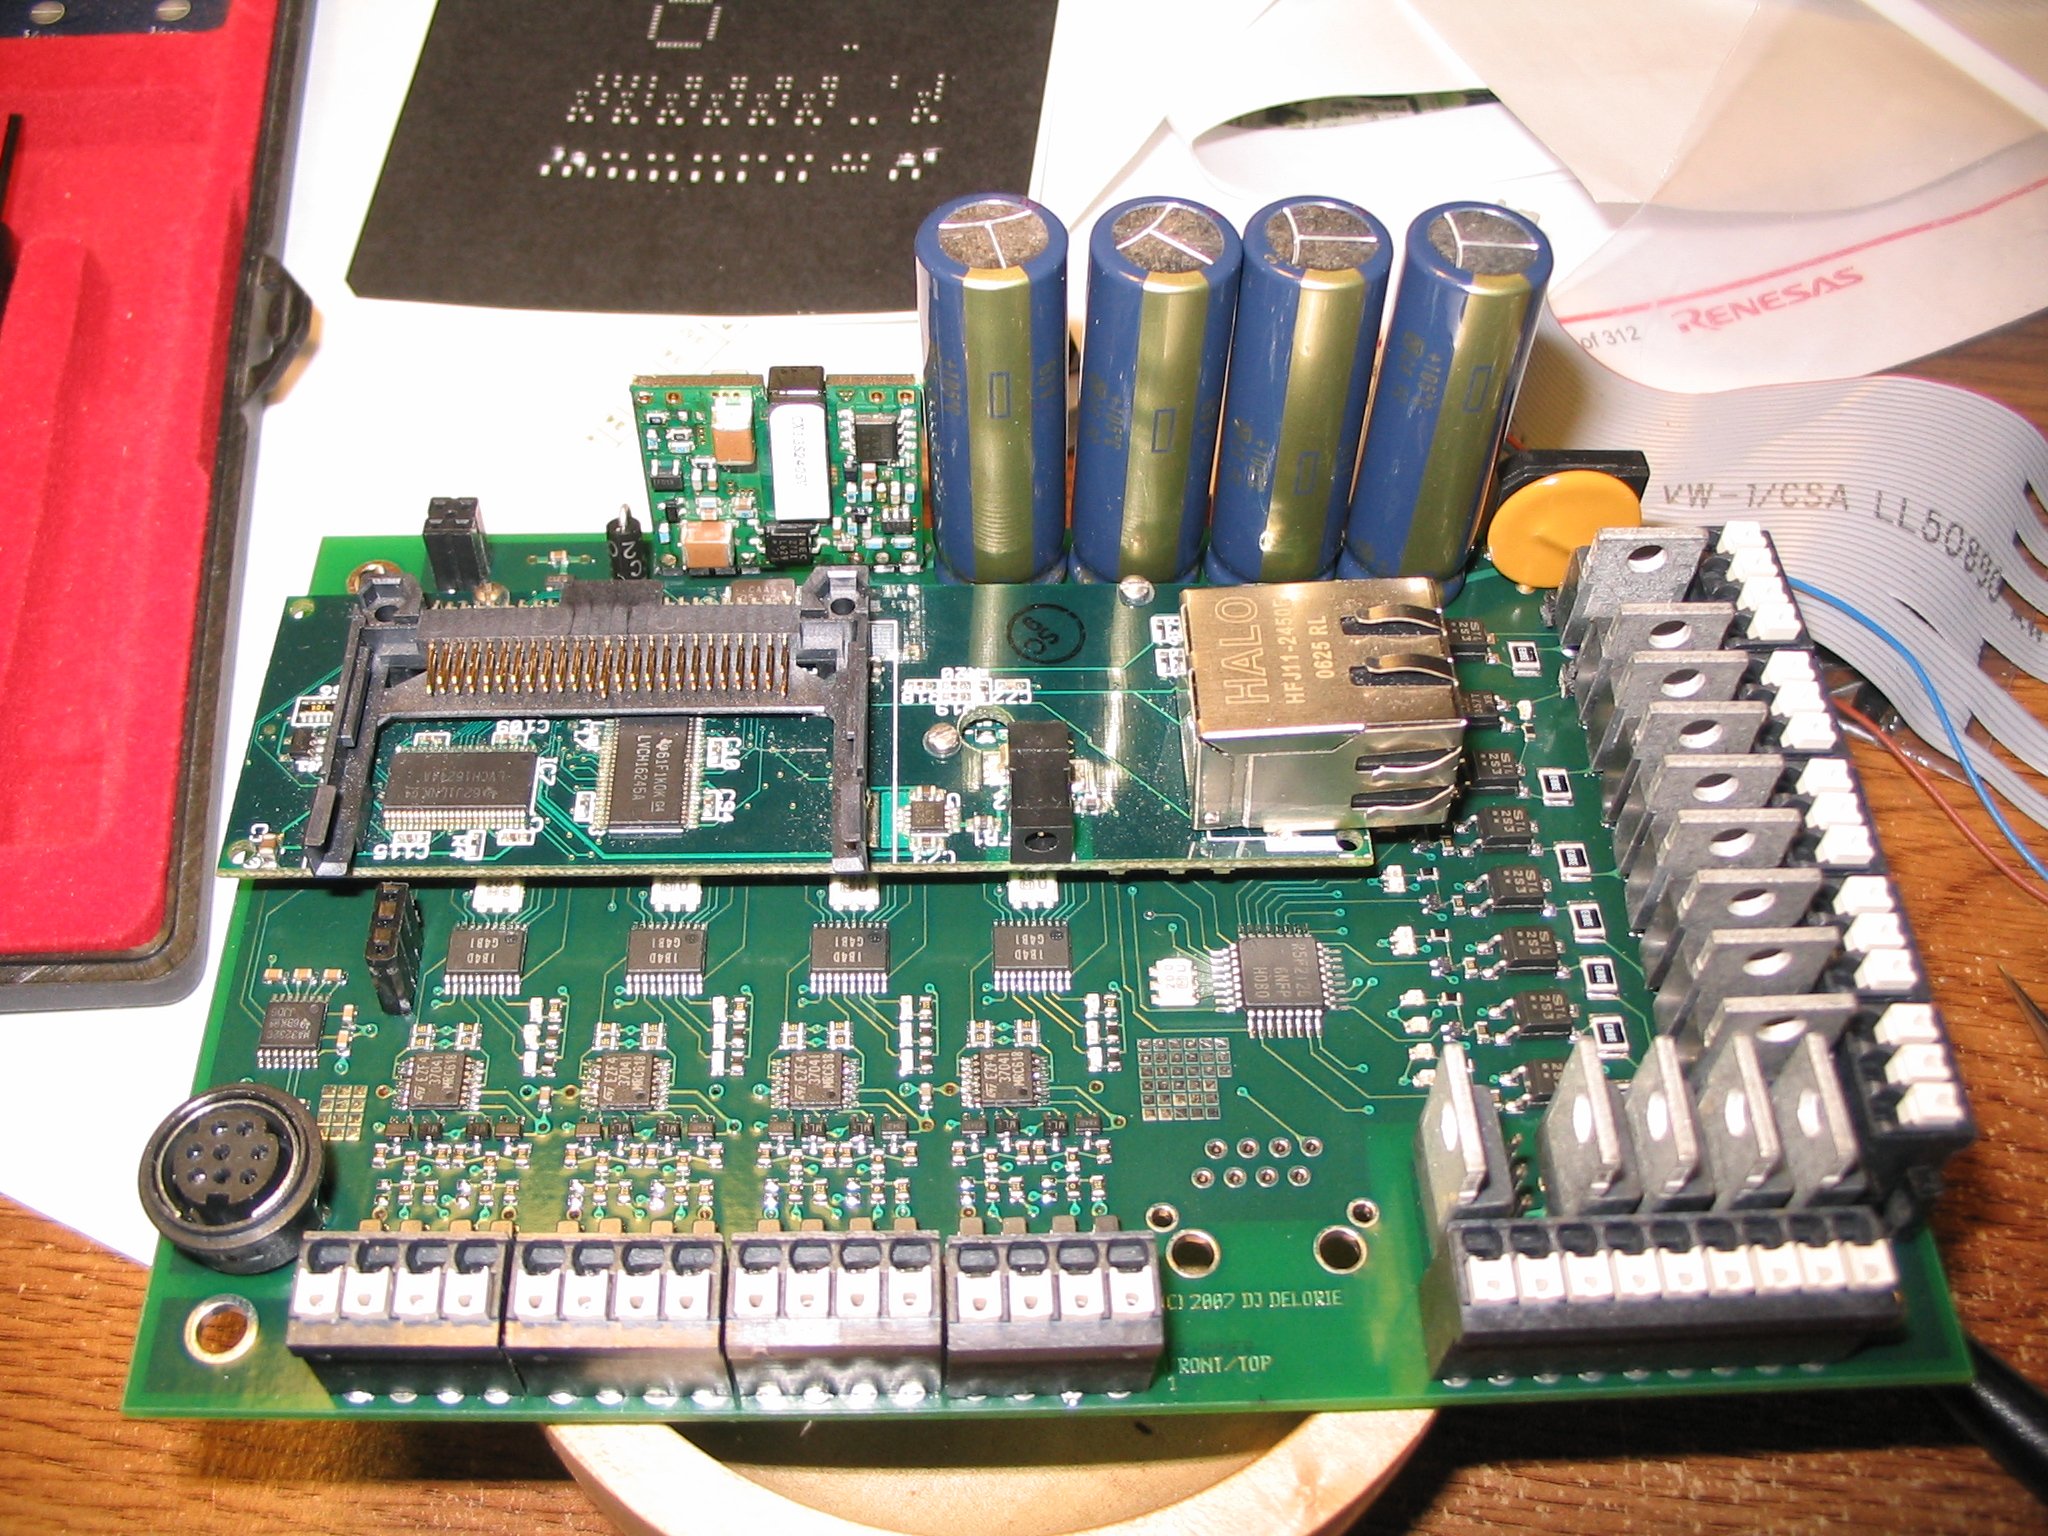
The above photos show the new board fully populated. You'll have to imagine the RJ45 jack being removed from the gumstix and soldered in the gap at the bottom edge of the board. At the moment, the bulk capacitors and power module are just dry-fitted. The input voltage is a little high for the modules I picked (they get VERY warm) so I might get different ones, or do something to reduce the input voltage. I haven't decided yet, I'm waiting to hear back from the module manufacturer.
(click for larger photos, about 500-700k each)
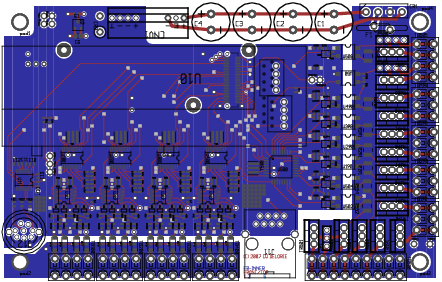
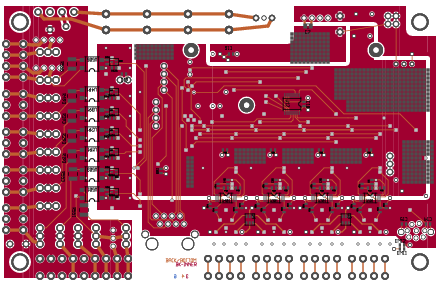
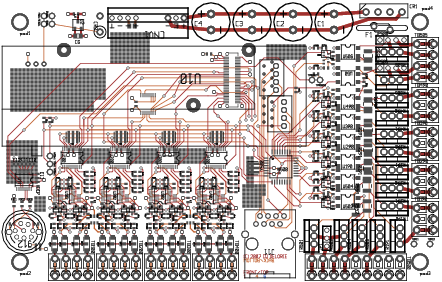
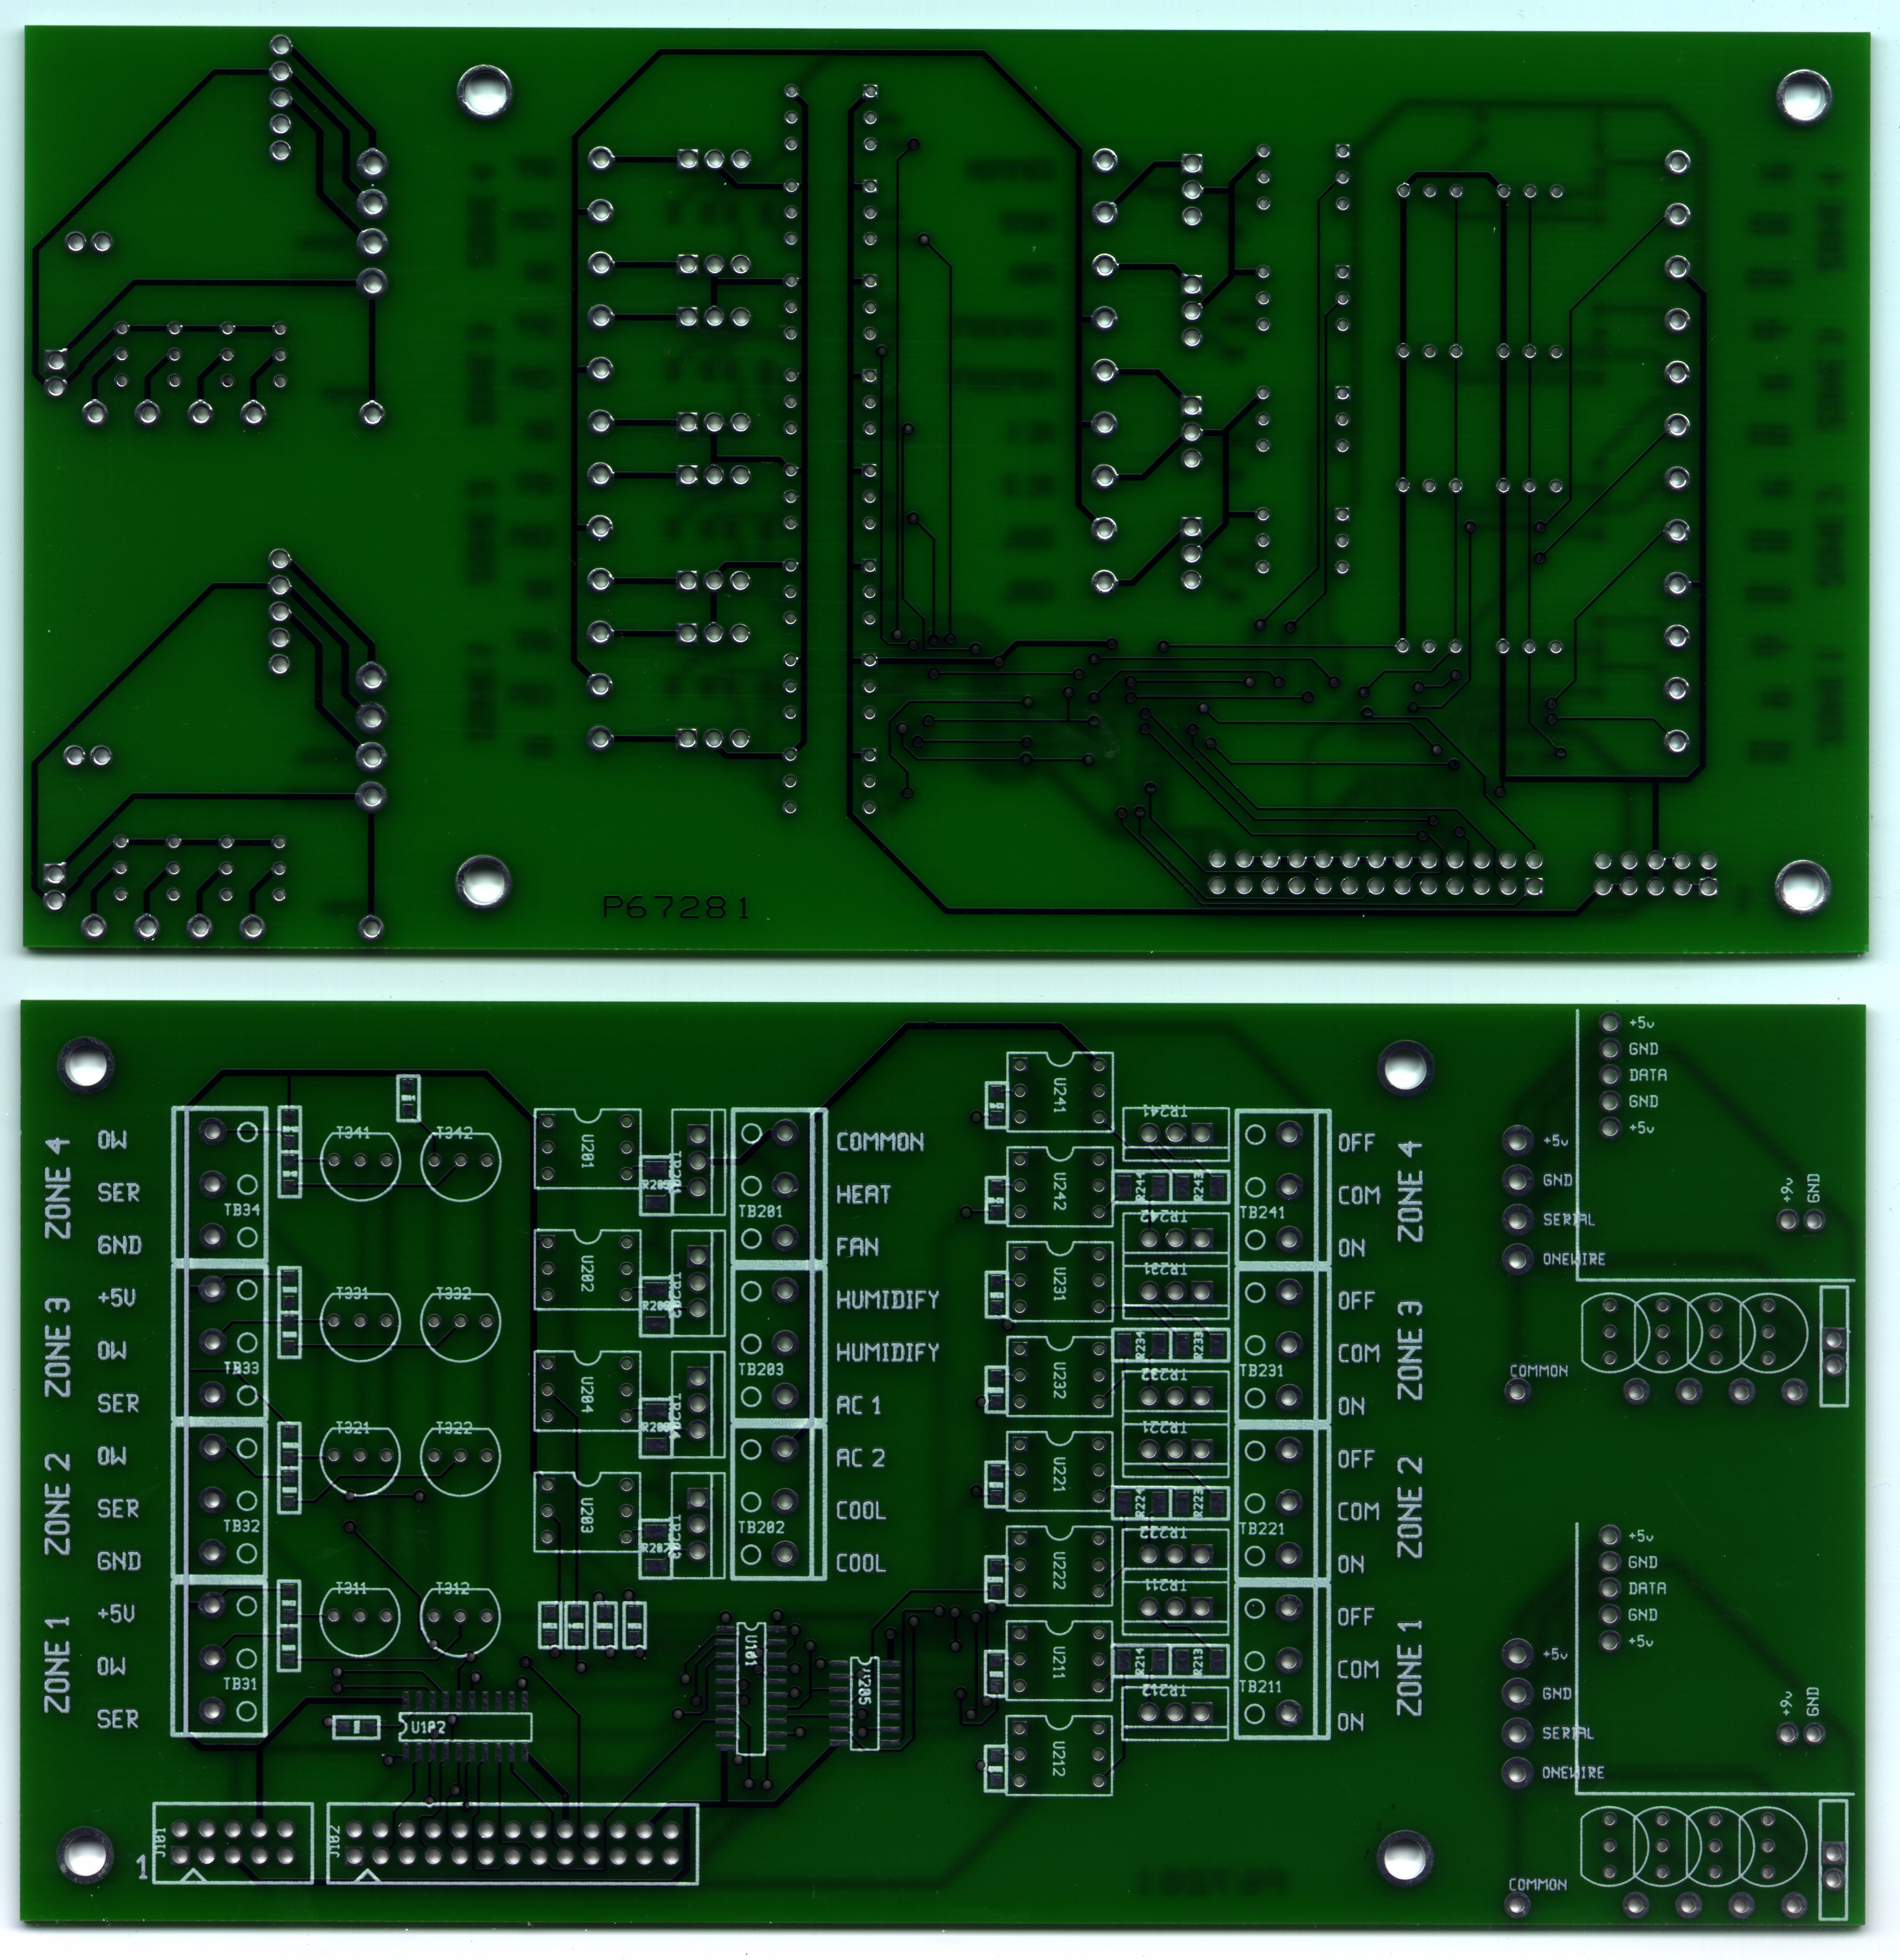
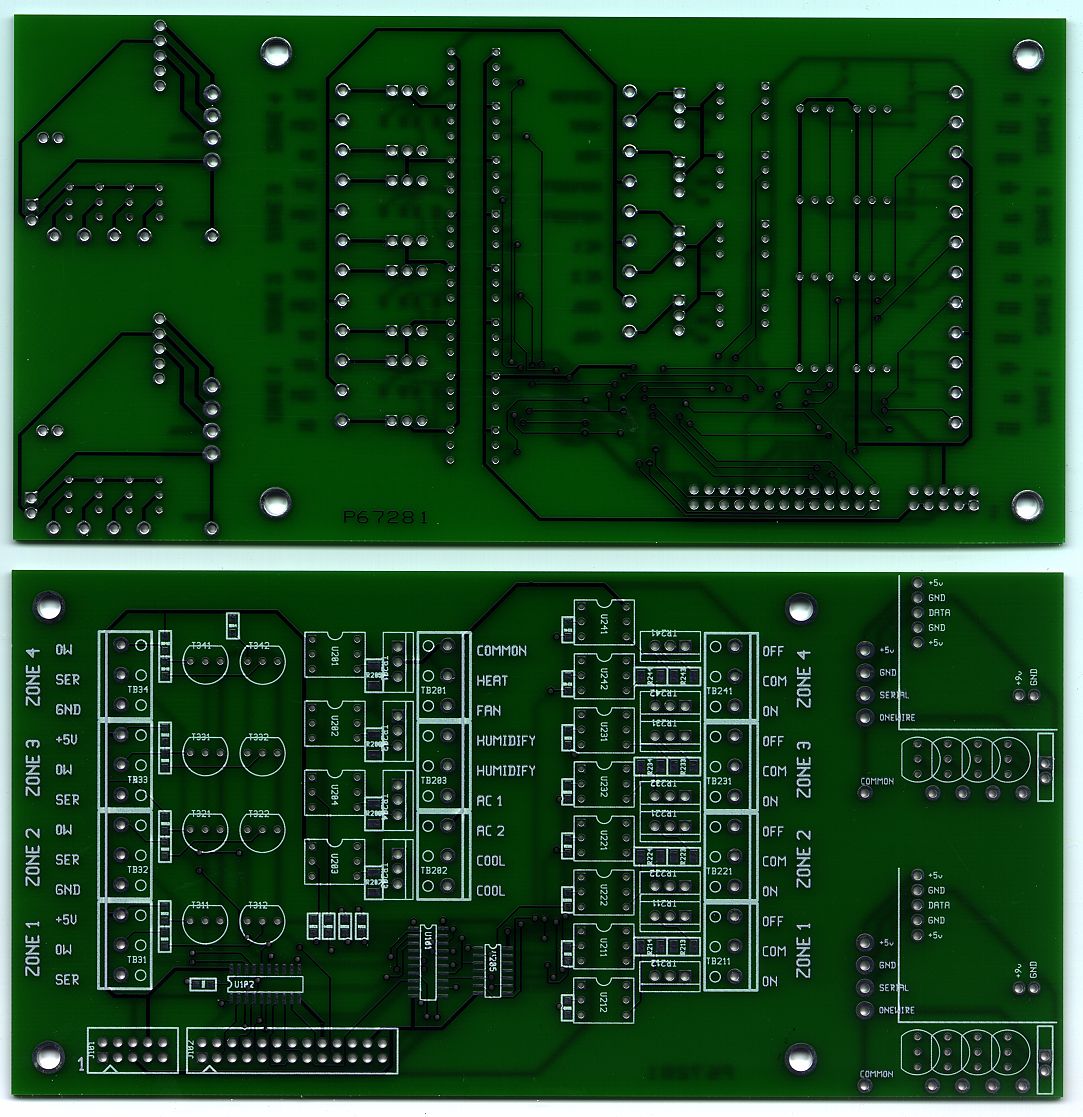
The PCB fab vendor was Advanced Circuits. I used their "3 for 33" special, total cost was $114 and I ended up with three boards (i.e. three control boards, six thermostat boards, once they're cut up). It took about a week to fab, and another week to ship (I chose the inexpensive options, I wasn't in a rush) but they were done and received on schedule.
For the second board (got some footprints wrong on the first one), I used 4PCB's new "Bare Bones" Service - one board for about $37, but no mask or silk.
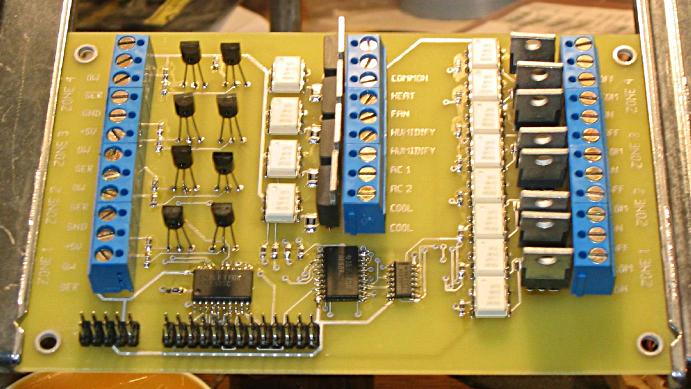
Ok, I finally got all the stuff I needed to populate the board (the last addition was the two replacement arms for the Panavise, but I also picked up a Metcal soldering iron and some replacement parts that were damaged from the initial prototype):
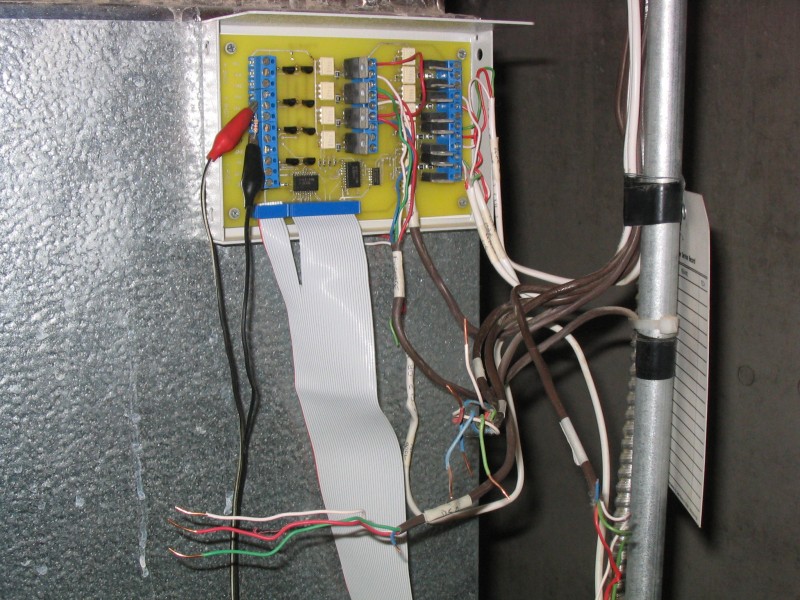
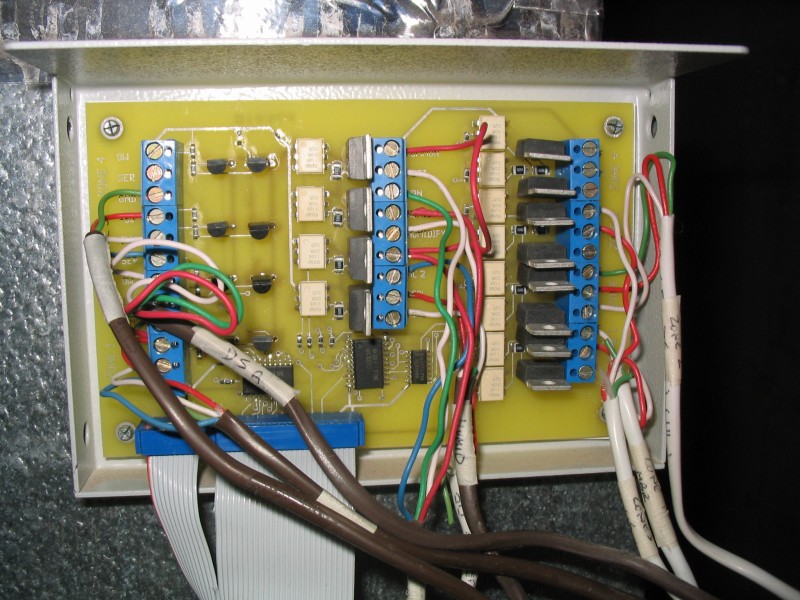
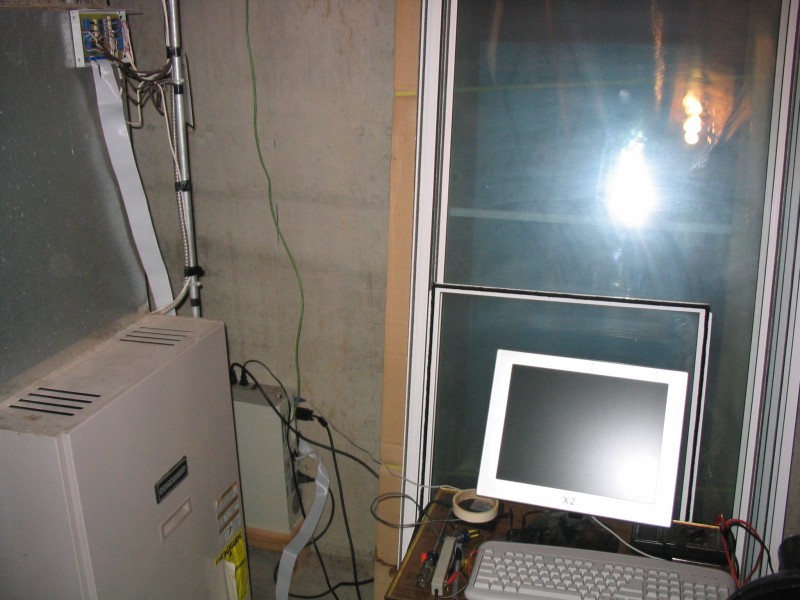
Finally got a chance to finish debugging the board and installing it. Photos from left to right are: initial installation, debugging the power couplers, fully wired, and an overview of the furnace/computer/monitor.
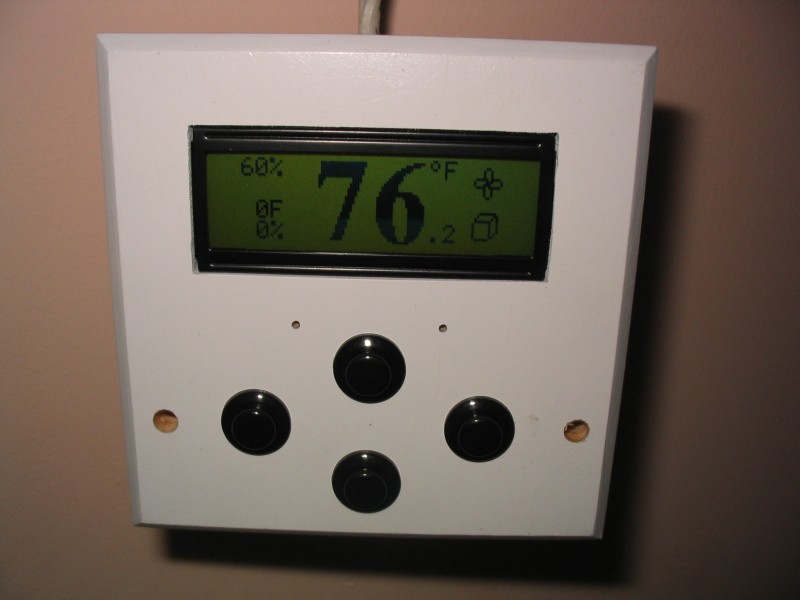
Here's a view of the thermostat modules. There are three, all identical, and I'll attach them to the wall once I'm happy that the system will function. I also still need to install the outdoor sensor, which is why the lower left reads zero degrees.

| webmaster | delorie software privacy |
| Copyright © 2024 | Updated May 2024 |