
| www.delorie.com/pcb/dremel-stand/ | search |
Click on any thumbnail to see the full-size picture
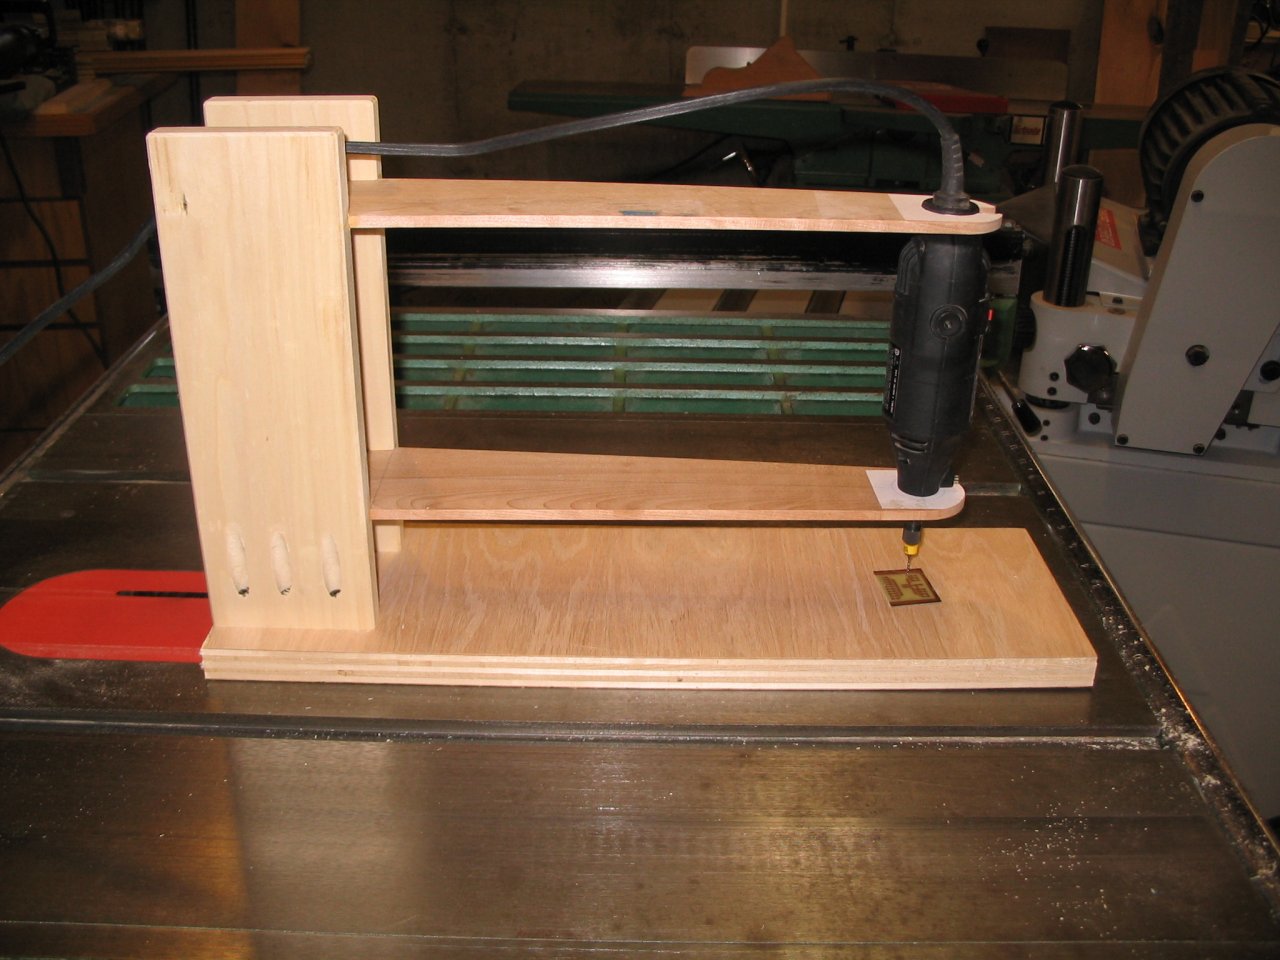
These shots show the basic stand. The base is plywood, the risers are poplar, and the arms are 1/4'' white oak. I thinned the arms until they were just springy enough; there's about 1/4'' of deflection with moderate pressure, but it's strong enough to hold the dremel up otherwise. The dremel is about 12'' away from the risers.
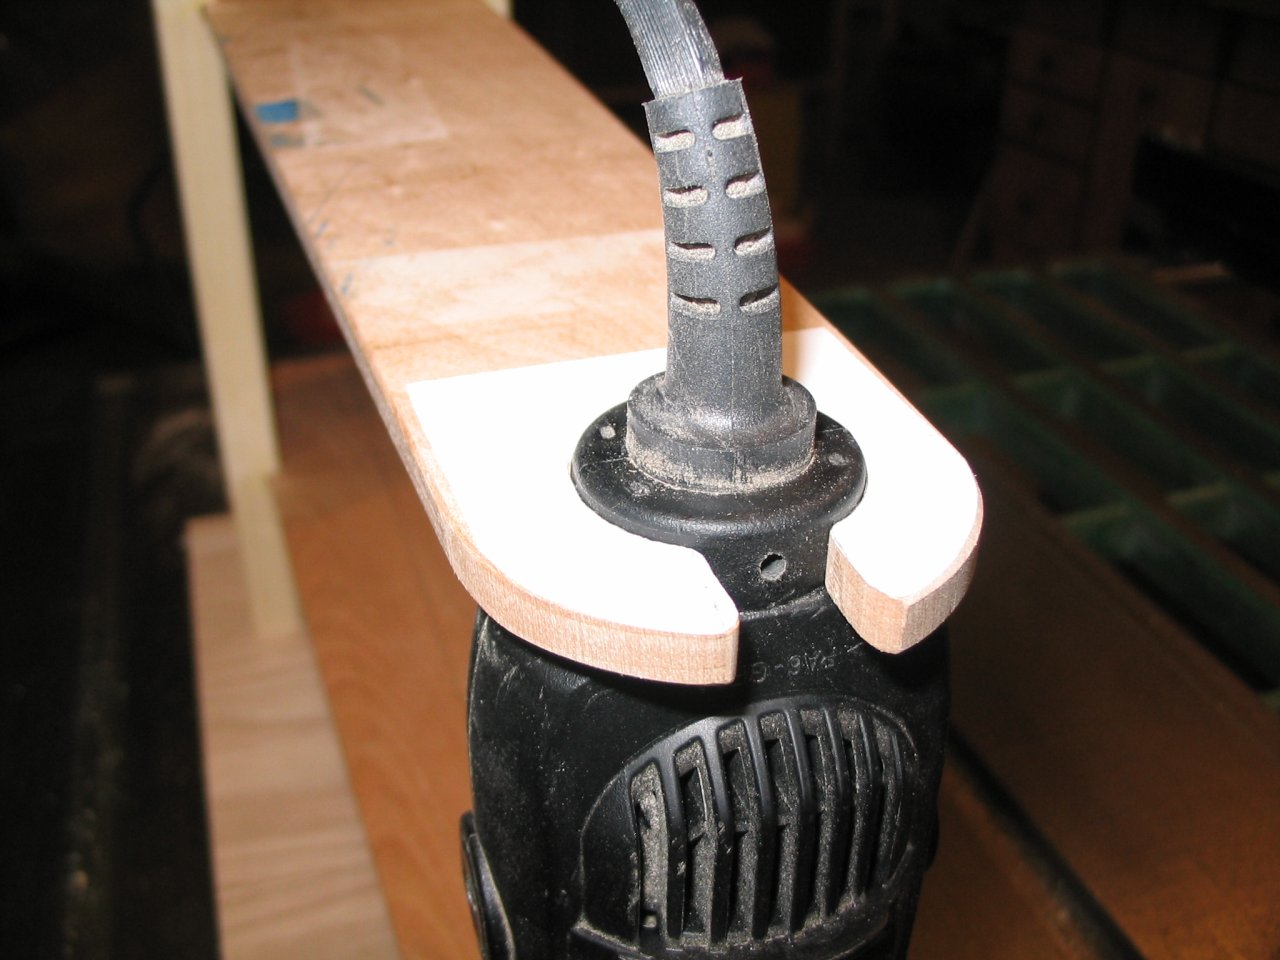
The dremel is held at two points. The idea was to hold the top and bottom against side motion, but allow vertical motion. The holes were cut on a scroll saw to match my dremel, with a wide cutout in the top one to clear the cord (othewise, you can't get the tool in or out). The fit is snug. To insert the tool, I bend the arms out of the way just enough to get it in position, then rotate it back and forth until it seats.
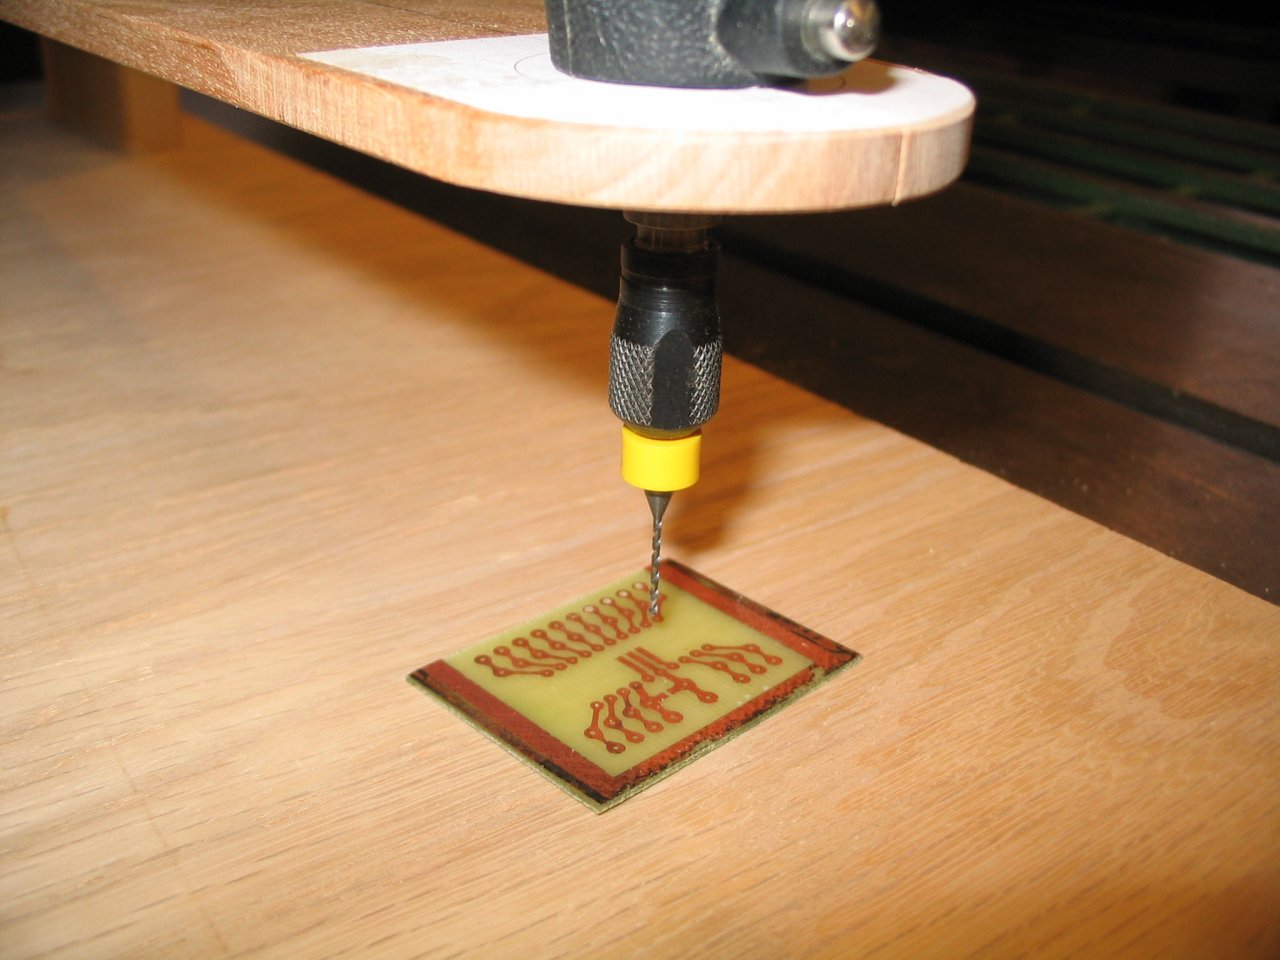
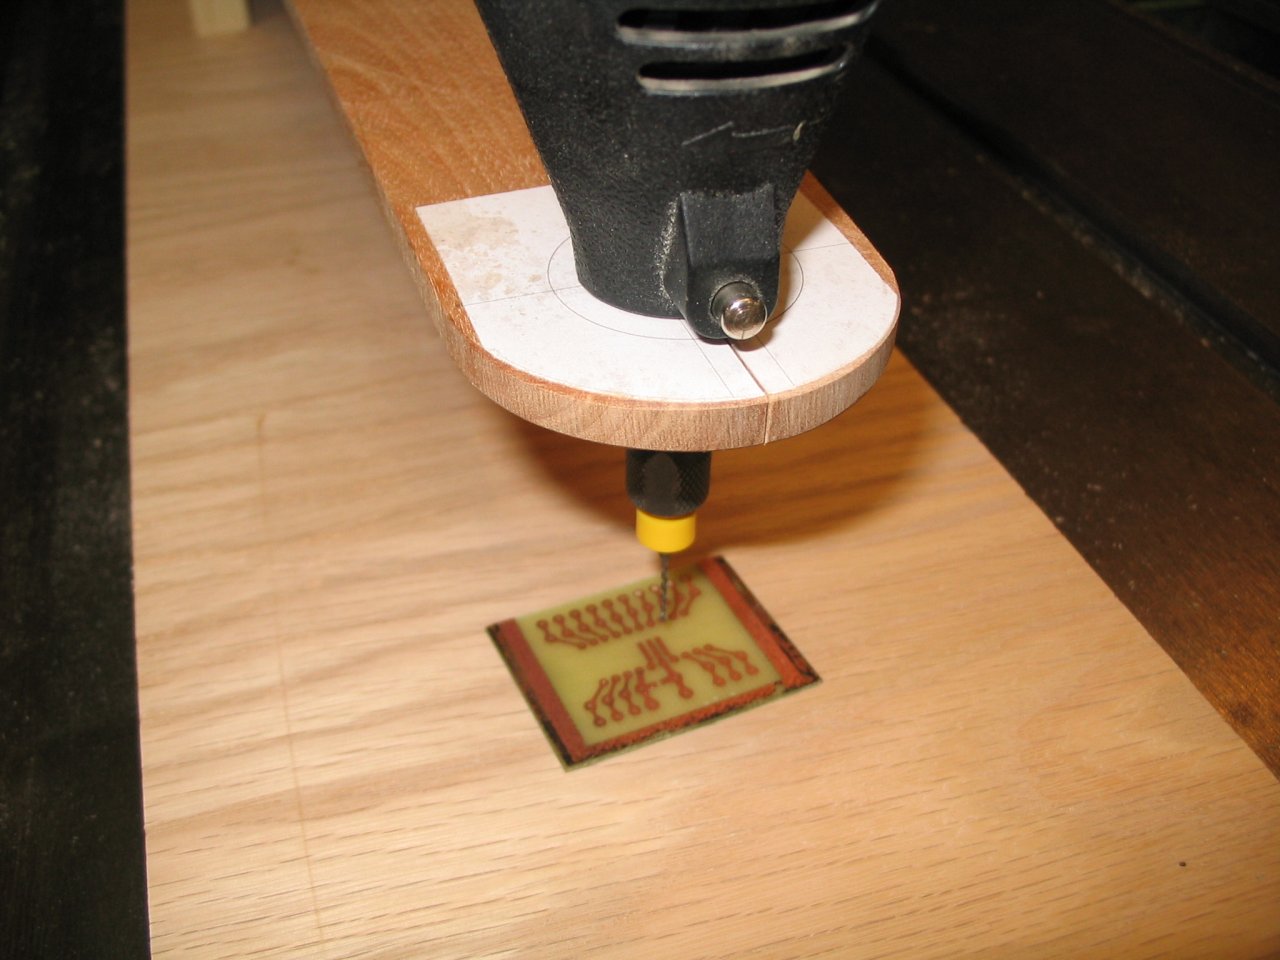
The stand holds the bit just above the board. There's some spare room for longer bits or board stacks. You can't see it, but the first cut I made was a 90 mil bit into the wood alone, to make sure the grain of the wood wouldn't deflect the smaller bits.
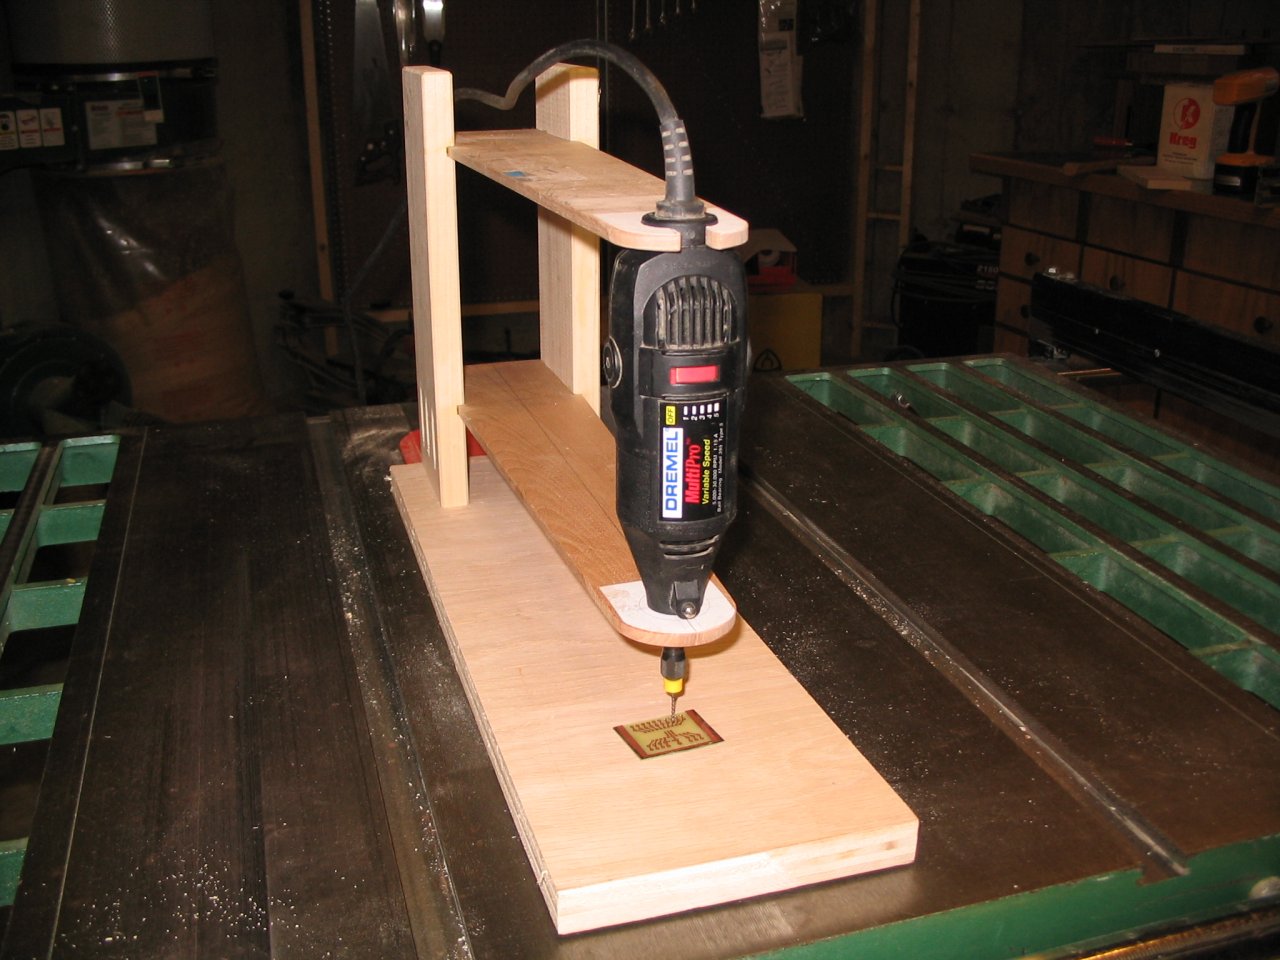
So this is how it works. I put the board under the drill and hold it with one hand, and with the other I push the drill down from the top (the cord end). If I hold the dremel itself, the downward pressure is enough to pull it out of the top arm, so I push on the top arm itself. That also keeps my shaky hands away from the bit ;-)
Even so, there's a little bit of runout in the bits. Some is surely due to the tool, but it seems they vibrate at certain speeds too, so I check a couple of speeds to see which gives the least vibration.
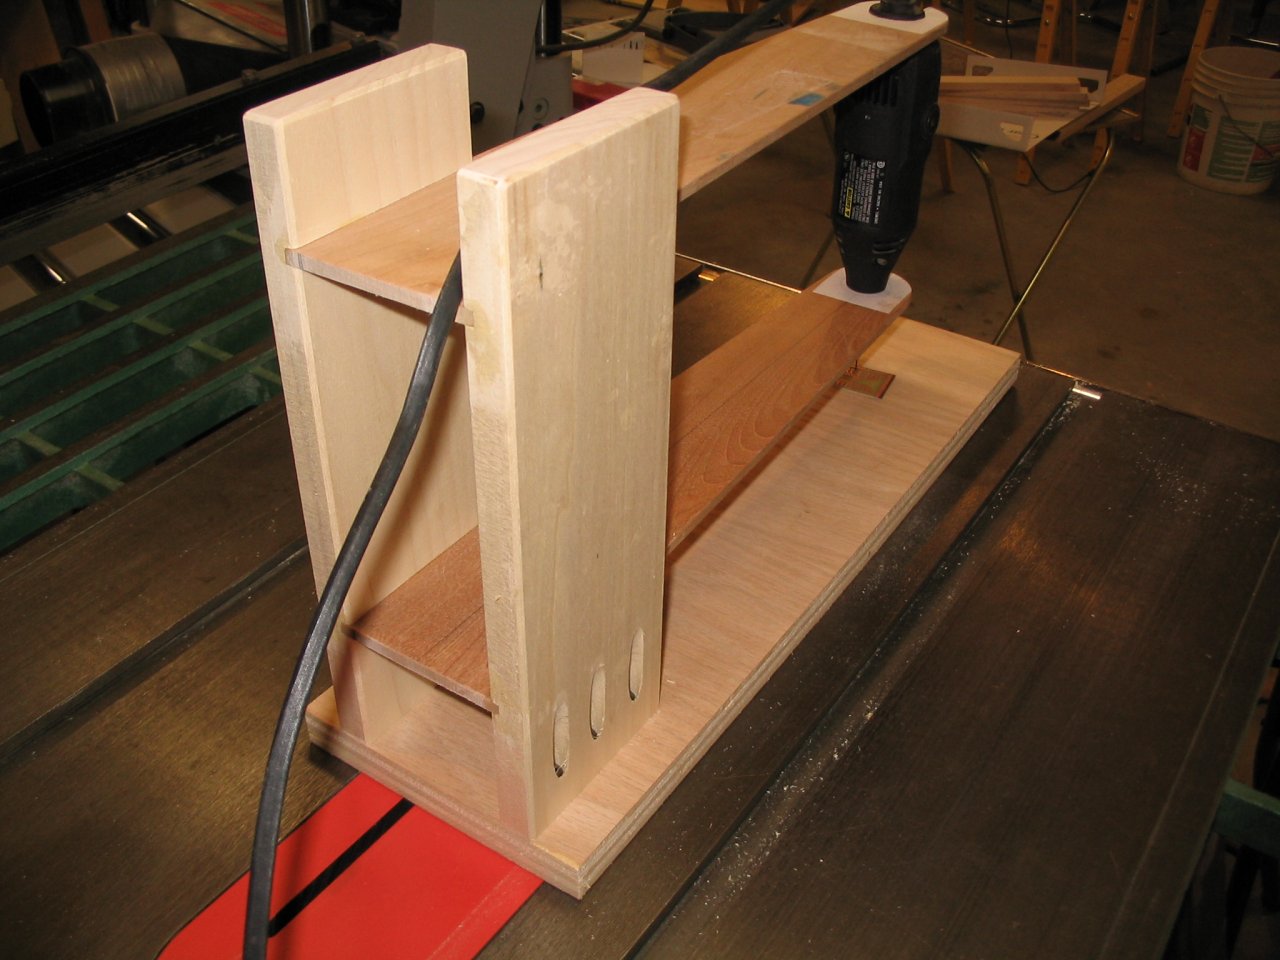
Detail of the construction. 1/4'' grooves are cut into the poplar to provide the most support and rigidity. The arms are glued into the slots. Pocket screws hold the risers to the base.
| webmaster | delorie software privacy |
| Copyright © 2007 | Updated Apr 2007 |